Search This Blog

Sunday, February 21, 2021

Starting but no finishes

 I have completed a number of tasks in my quilting world and have added to the 'hangers' of finished quilt tops as well as getting up to date with my blocks of the month. The second happy blocks quilt is put together using blocks that a good quilting friend made plus mine and added in a donated panel of Canadian cities.  Added to the hanger section.

This is not a new, finished quilt.  I took a picture this week so show other Quilt of Valour reps how I can present all the blocks that are free on the Quilts of Valour Canadian website for making hug blocks for our hugs from across the nation quilts.  The blocks MUST be made from Northcott Oh Canada line of fabrics to be included in the sets of 30 blocks to be included in the quilts.
My pink Rainbow scrap challenge blocks for January got started and finished.  My problem with starting was that I had save about 15 ideas for potential blocks to make and had to make a decision.  This year I decided to go with three simple and one a little more complicated.  And, I figured out the finished size of each of the blocks and how many blocks I needed for one completed quilt.  Usually the blocks are made for 10 or 11 months so divided the number of blocks and most of them need 5 or 6 blocks of each colour.  My usual 'thing' is to just make blocks so this is a little organized.  First I have simple rail fences made from pieces of 2.5" strips. 4 strips makes an 8" finished block so an 8x9 quilt would finish at 64 x 72 which is perfect for a donation and it means I need 72 blocks which is about 6 or 7 a month.
This is the most complicated one using 3.5" squares and half square triangles and finishes at 15" which means 4 rows x 5 rows = 20 blocks or 2 blocks per month.  I had already made 3 before I decided to figure out the math and not make more than I needed to. 
Friendship stars are made and those finish at 9" which means 56 blocks: 7 x 8 rows
And then I finally got to move into making my blocks for February!  I still have a week left in the month so am not behind.  I dug out my yellows and made my block for Patterns by Jen.  Sadly, I didn't seem to have a really nice, light yellow and probably should have used a dark gold as my dark yellow.  Lesson learned.  I didn't really like making this block but should push myself to make another one with better contrast.
And my RSC blocks for February.  The rail fence blocks are done.
And the friendship stars, the strip pieced blocks and the larger sister's choice blocks are finished.  The best part is that I have cleaned up and tidied the pink scraps from January and the yellow scraps from February and they are put away in their proper places. I have decided that the next friendship stars I make will have a lighter/whiter background and they can alternate with the black ones.
My heartstrings challenge for February is to make something using half square triangles.  Since I had all my fabrics with Canadian themes out, I decided to make churn dash blocks with a Canadian center.  I cut my 30 squares and part way through, realized that alternating the red and white placements in the blocks would look more pleasing? I am about 2/3 of the way through these.  It is good practice for using my Accuquilt to cut the half square triangles and I am liking the way they are cut and sewn and don't need trimming for accuracy. The best about this as well... I have tidied and organized my Canadian fabrics and I know what I have and the scraps are sorted into chunks, strips and larger pieces. 
The Morehouse mystery blocks are finished for February and the blocks are now assembled into a top, folded and living on a hanger and waiting in turn for quilting.  The lighting isn't so good for this picture but think retro kitchen from the 70's with harvest gold and green. 
Our weather is all over the place as far as rain, snow, cold, gale force winds and then a surprise, sunny day.  This was sunset one evening and it is lovely to see and also am appreciating that it is staying lighter longer in the evening. 
We were both happy to get this jigsaw finished.  It took us almost a month to finish which including opening up the vacuum bag and finding a 'munched' piece which turned out later to be two halves of different pieces so I gave up searching through the dirt in the bag too soon.  I will tell you that it wasn't me that vacuumed the pieces but at least the guilty party told me about it when it happened.
This is one of our snowy days.  As you can see, we don't get a lot of snow but enough to keep us off the courts.
And then suddenly, out of nowhere, we get a lovely dry day with sunshine and enough warmth to shed our winter jackets when we play.  Seniors are a crazy bunch of people and there are 8 of us who play as often as we can and can be seen drying the courts with towels when there are puddles. 

We are 'not so patiently' waiting for Covid vaccinations and it makes us so frustrated that we probably could have/should have headed south to Arizona for the winter and we would be vaccinated by now.  But, my husband has had a number of Moh's surgeries and the Canadian government has made crossing the border back into Canada really difficult which I find annoying because they haven't given us any statistics as to how many travelers have brought covid with them and infected others?  This isn't meant to be political but more to express my aggravation with our lack of production of vaccines in our country and our total dependency on other countries and hoping they will take pity on  us and provide us with some just like they are for third world countries.  

So we stay home and wait for spring weather so we can be outside more often. I have a lot of quilt tops waiting to be quilted so will stitch away for February and then alter my daily habits of sewing to quilting and binding.

Thursday, February 11, 2021

Busy days in my sewing studio, lots of quilt tops but no finished quilts - yet!

 I seem to have gone full steam ahead with my piecing for the last few weeks with too many projects started and not very many finished.  However, cutting batting and making backings is next on my list when I get my current few projects further along in the piecing. 

The last three blog posts were tutorials on making quilts for donation or gifts that use up either scraps or fabrics sitting in your stash that you really don't know what to do with.  What was I thinking fabrics or just leftovers from other projects.  

Since those posts we had a great sew in across Canada for Quilts of Valour and last Friday I worked on making the latest hug block patterns using a bundle of the most current fabrics that were purchased online from the QOV website.  The newer fabrics are fun and include some blues and a nice fabric with Canadian words. The patterns are available online as well under resources and look for hug blocks.  As mentioned before, the hug blocks are 9.5" unfinished and must be made from Northcott Oh Canada fabric.  The blocks are mailed into the address on the pattern and then they get combined with other blocks from across the country and turned into hug block quilts or Hugs from across the Nation.  At this time, for every block you mail in, you get your name entered into a contest to win a Janome sewing machine.  The contest is open until July 1 2021.  

These are three that I made.  I have ordered some of these fabrics and have also ordered a die for my Accuquilt to cut more moose and trees.  When my order arrives, I will put fusible on the back of the darker fabric and cut out the shapes and will have them available for those who live here in the Fraser Valley and want to make these hug blocks. 

I also started a project using up some of my stack of 6" squares and the Heartstrings as well as Stashbusters groups are challenging members to make something with HST's.  So, I decided that the churndash block would work. 


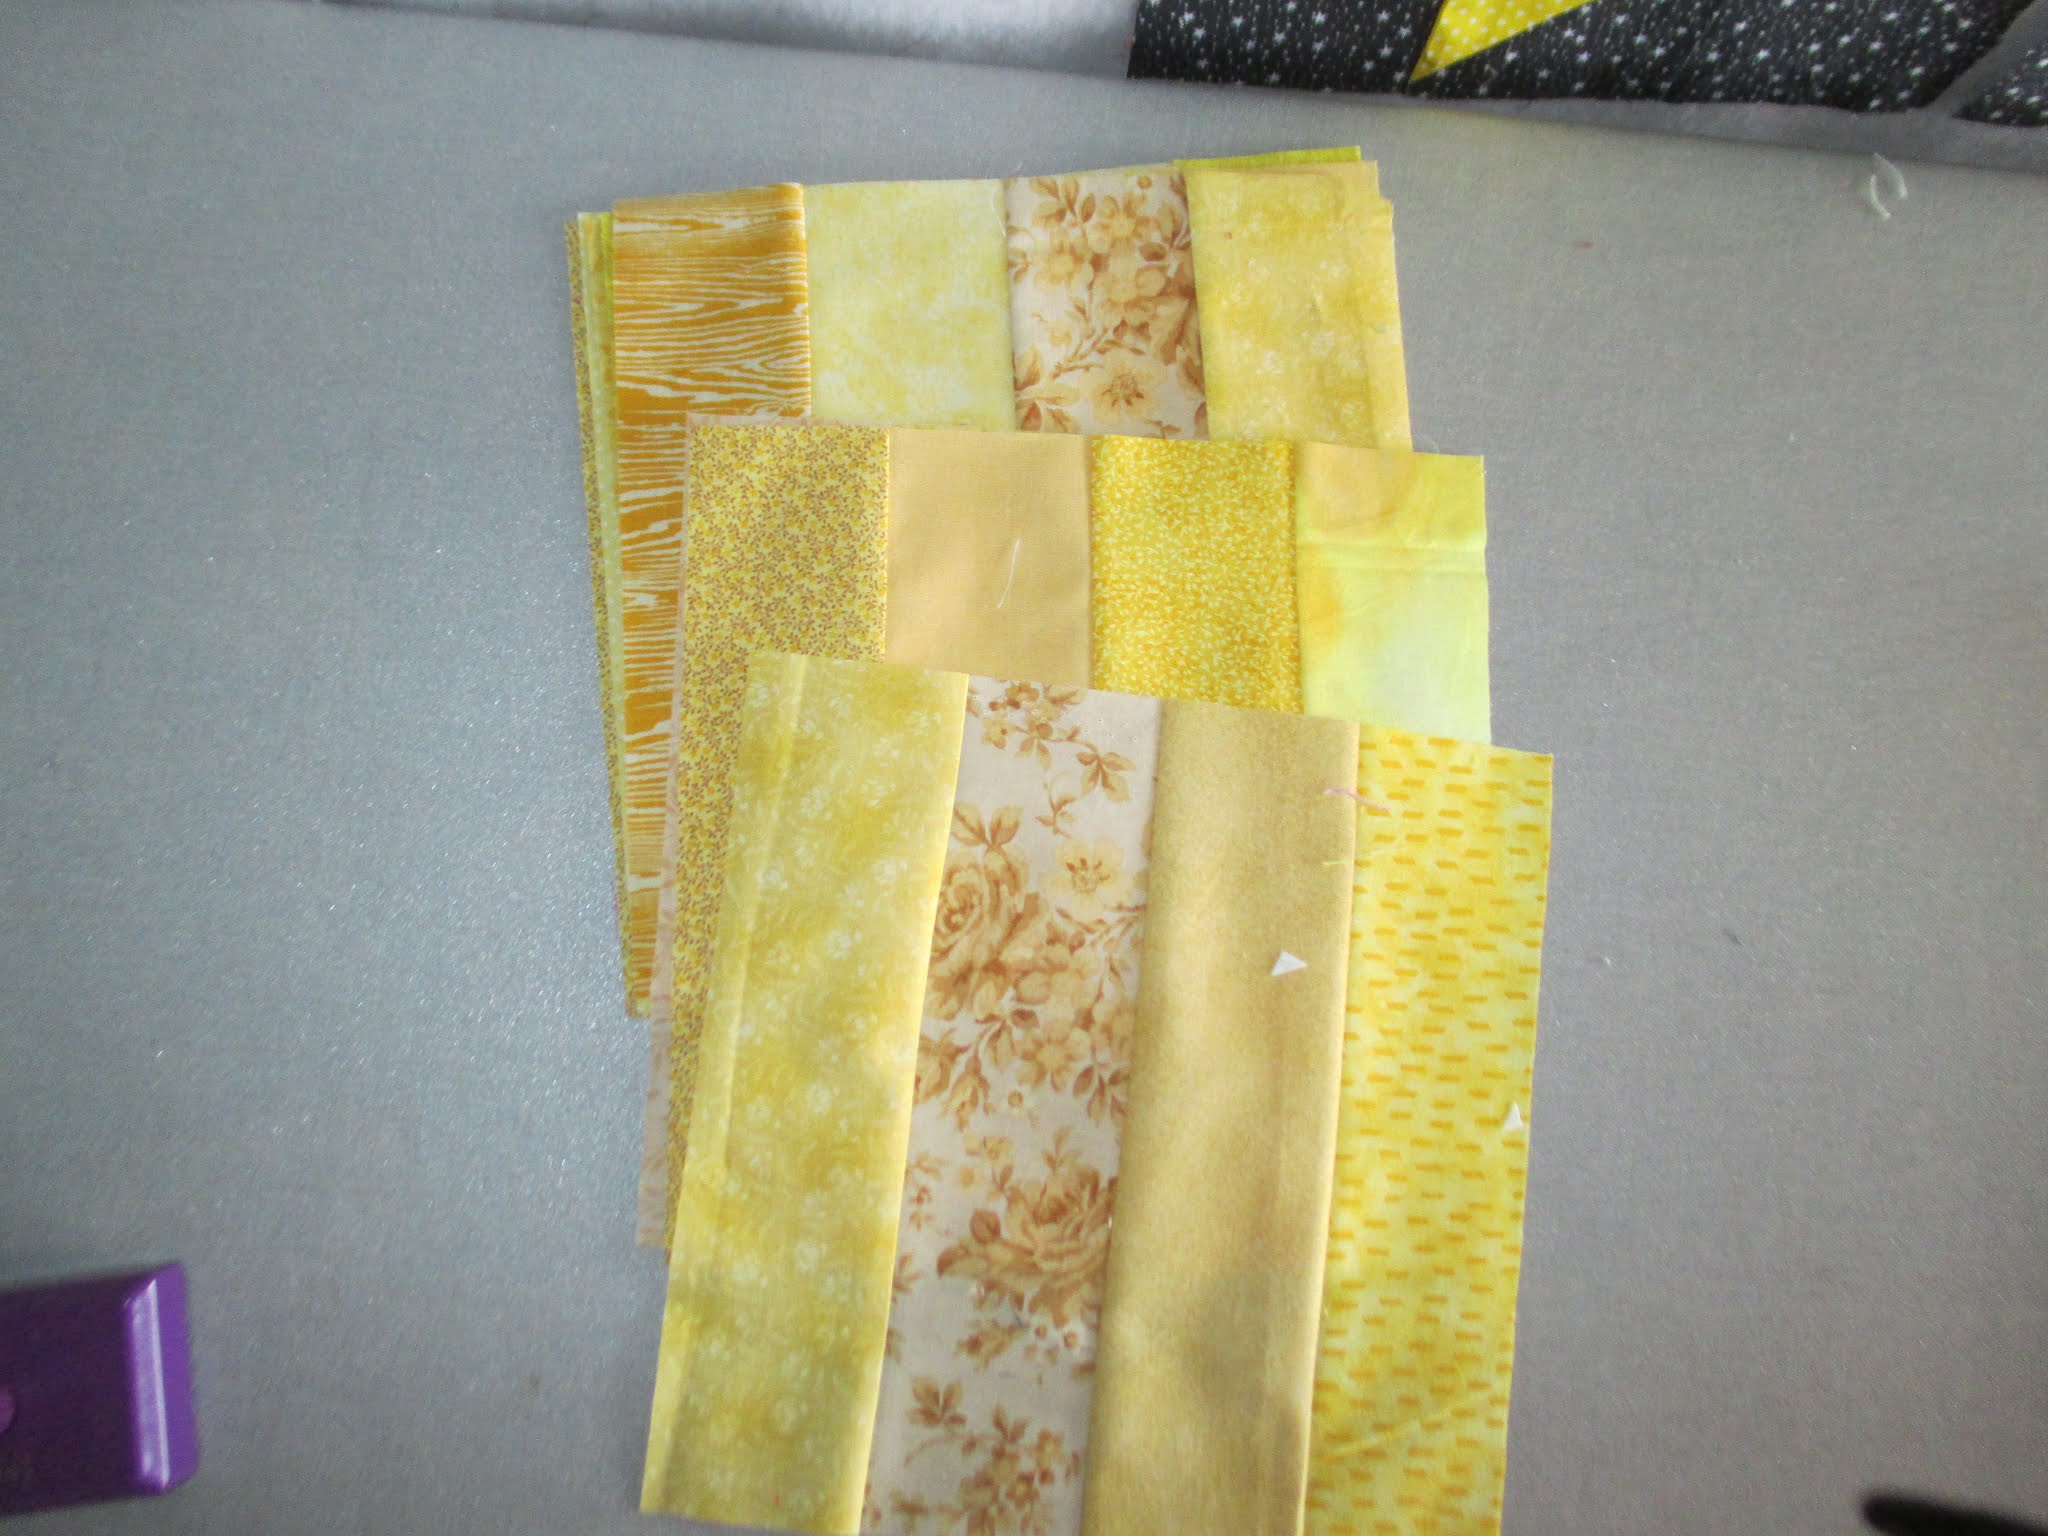
 And then I looked at how many 2.5" strips I have in a container and decided that maybe some bordered 9 patches could be made and have a few of these started. 

I have since pulled out all my fabrics with a Canadian theme and organized and tidied them although I have enough to keep stitching quilts for Quilts of Valour for the rest of this year and still not run out.  So much fabric!  But, it is tidy and I will end up with about 6 or 7 quilt tops made from my recent sewing spree. 

With the very cold but not raining weather here, we have been playing senior tennis outdoors, bundled up to keep warm and it is good exercise, but, it is frustrating as it seems to cut into my day for sewing.   But, I did have a good day last week with a plumber installing a new garbage disposal (mine had died in December 2019 and I kept putting off calling a plumber because of covid).  We are now back to functioning normally, with two sinks!  Sometimes it is the small things in life that can make such a big difference.

And, a trip to Michael's helped me to find a wine glass for Valentine's day.  ALL my Valentine's decor items are living a lonely life in my other house in Arizona and I have nothing here at all for doing any decorating.

And, I started sewing a few things for this house.  First, I dug out my container of fabrics and was surprised at how much I had on hand including lots of cookie cutters, card making supplies and some really well aged fabric.  

So, I started sewing.  I made a 12" little hanging that goes on my frame although I don't have a header for it but oh well.  And, I think it could use a little more quilting on it. 

The white table topper had all the various  hearts fused on and I only had to stitch around them all and add a batting and backing plus binding.  I made the three table toppers to put in each of our rooms that we use to add some sort of heart theme. 

My desk needed a mug rug. 


And our table needed placemats. So, not very much done but enough to at least remind my husband that it is a special day on Sunday.  And, makes me feel happy to have a bit of cheerful decor.  No garden flag here!  And impossible to find a place to buy one. 

This panel was in with the fabrics and I added a couple of borders and it is now hanging on the wall where I like to put seasonal decor items. 
The first of my quilt tops made using my Rainbow scrap challenge blocks from 2020. 

These are two of the tops I have made using the happy block tutorial.  The second quilt top was made using blocks made by myself and by Penny, one of my Wednesday quilt diva friends.  She took a handful of 6.5" squares and surrounded them with frames and brought them back to me.  I had a second panel of Canadian cities so two quilts made for Quilts of Valour. And enough blocks left for at least one if not two, quilts to be made.
The scrappy log cabin is together and another scrap quilt from light and dark fabrics leftover from bindings and backings.  There is enough fabric in those two bins to keep going and make a few more!
This was the top I made using the first tutorial I posted... the 3 yard quilt and I used some of my Canadian fabrics for the centers. 

And there you have it.  I spent the day tidying, cleaning, organizing and shaking my head at how many projects I have on the go and not even going to count how many tops are now waiting for layering and quilting.  But, since I can't be in the warm weather at  my other house, I might as well be productive here while we wait, (not so patiently) for Canada to get vaccines for us seniors but not holding our breath.  We stay home, we stay safe and we try to be nice. 

Monday, February 1, 2021

Quilt of Valour #3 Using Fat Quarters to make a triple framed block/quilt

 This is the third post that I am doing because I realize, as a Quilt of Valour rep here on the West Coast, that many quilters want to make a quilt but aren't sure where to start or what to make. 

The pictures here show  quilts  made with a block I call triple round.  It uses fat quarters and the finished block measures 15".  It is a great quilt to make for donation because you can use a variety of fat quarters that you don't know what else to do with and the finished quilt from 20 fat quarters measures 60 x 75" which is a nice size for a tall Canadian Armed forces member who is suffering from an injury (mental or physical) during their service to Canada.  I also had made a few smaller ones in December when I got a call asking for some baby quilts that were needed for the local native band and their newborns.  Fast, quick, easy and used fat quarters that I had on hand. The border was added because the size of 30" x 45" didn't seem quite right to me?


I chose a variety of fat quarters for this tutorial to show you how the fabrics don't have to come from a bundle of matching fabrics.  Mine are all chosen from fabrics that seem to be sitting in my stash waiting to be used.  For QOV I like to use more masculine fabrics since the majority of donations go to men and I love autumn fabrics, leaves, foliage, sporting, scenery, and rustic types of prints and colours. So the following fat quarters are the 20 that I am going to use.  When choosing fabric, realize that each fabric will appear in 3 places in the blocks: the center, the second round and the third, outer round.  If a fabric is too plain, it won't look good in the center.  I like a variety of colours as well as size of print.   You will use almost the entire fat quarter so you need a minimum of 18" x 20". 


The first step is to fold your fat quarters with the selvedge and opposite raw edge together.  This gives you a rectangle that is 18" long and the folded width is approx 10 - 12".   I tidy up the left edge, carefully so I don't lose more than ¼" and then make 4 cuts.  The first cut is 5.5".  The second, third and fourth cuts are 3.5"  - so you need a minimum of 16".  The extra bit can go into your strip scrap bin.
Using the 5.5 strip, open it up and cut (1) 5.5" x 5.5" square, (2) 5.5" x 2.5" rectangles and from the rest of the strip, cut (2) 2.5" x 9.5" strips. 
From the first 3.5" strip, cut (2) 9.5" strips.  From the remaining two 3.5" strips, open them up and cut (2) 3.5" x 15.5" strips - one from each strip. 

Layout your blocks like this.  The center square surrounded by the 2.5" strips, sewing the short ones on first and then the longer ones.  The third round gets added, again, short strips first and longer ones last. I have made this block where I just reach and grab fabrics, not worrying too much but have found that it makes more sense to actually lay out the blocks with each of the fabrics so that you get a good mix of lights and darks or a good mix of the size of the prints or the colours. 
After stitching the blocks, I find that I always need to trim my blocks to the final 15.5" and the easiest way to do that is to have a ruler large enough.  It can be done using the lines on your mat but I find it quicker and more efficient to use a large, square ruler. 
Because my ruler is larger than the size of the block, I use tape to mark the lines so I don't get confused and line up the edges of my block with the wrong size.  I also changed the blade in my rotary cutter and what a difference!  I write the date with a Sharpie on my blade so I can see how long it lasts and this one hadn't been changed since September, so it was time!
After I trim my blocks, I get them up on the wall which I find motivates me to keep going!  When I put them on the design wall, I try to have the blocks going different directions so the seam on one doesn't have to line up with the seam on the next block.  It is hard to see here but the green blocks have the seam running across the other blocks have the seam running up and down. 
Here is the final quilt top put together.  I think that I probably chose too many bright gold/yellow prints as the colour seems to jump out at me when I see the picture?  Maybe a few more darker orange might have been good or maybe more dark blues?  But, as you can see, each fabric ends up in the center, the first round and the second round.  This quilt was made from fat quarters that were sitting in a box that I really didn't know what to do with and now I have a quilt top that will be a warm, caring hug for a member of our Canadian Armed Forces through Quilts of Valour.  
I am hoping that you will have seen a few ideas that might work for you in making a donation quilt.